Pet Door Installation Services Overview
Visitors will learn how local contractors handle pet door installation services and how to compare options to find the right provider.
- - Pet door installation services for residential homes, apartments, and condos.
- - Local contractors specializing in pet door fitting for various door types and materials.
- - Connect with professionals experienced in installing pet access points in both interior and exterior spaces.
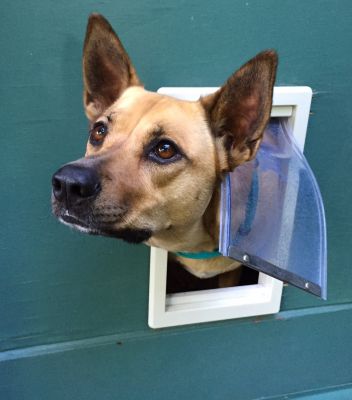

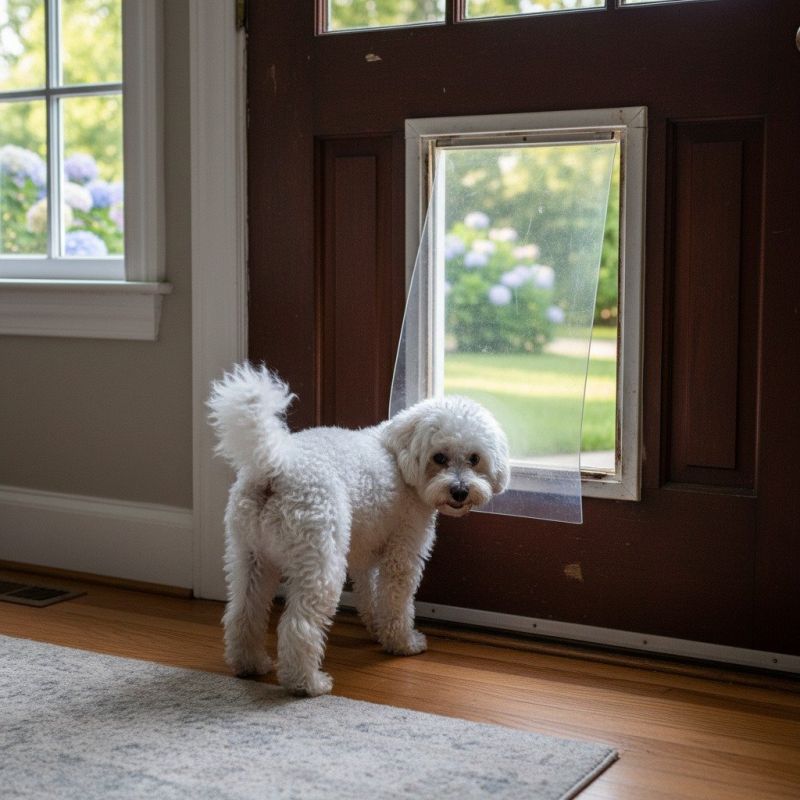
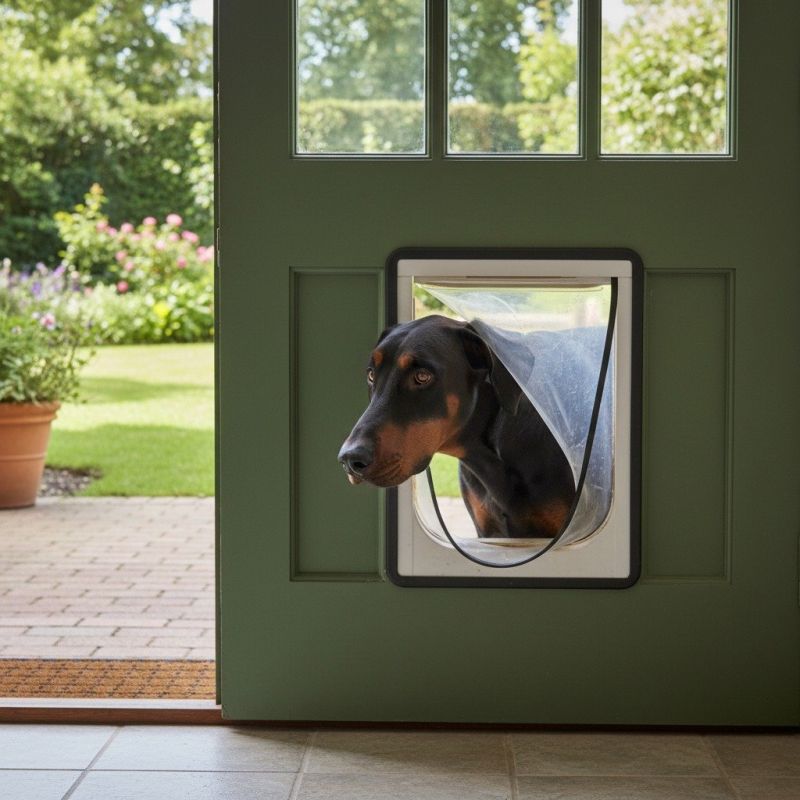
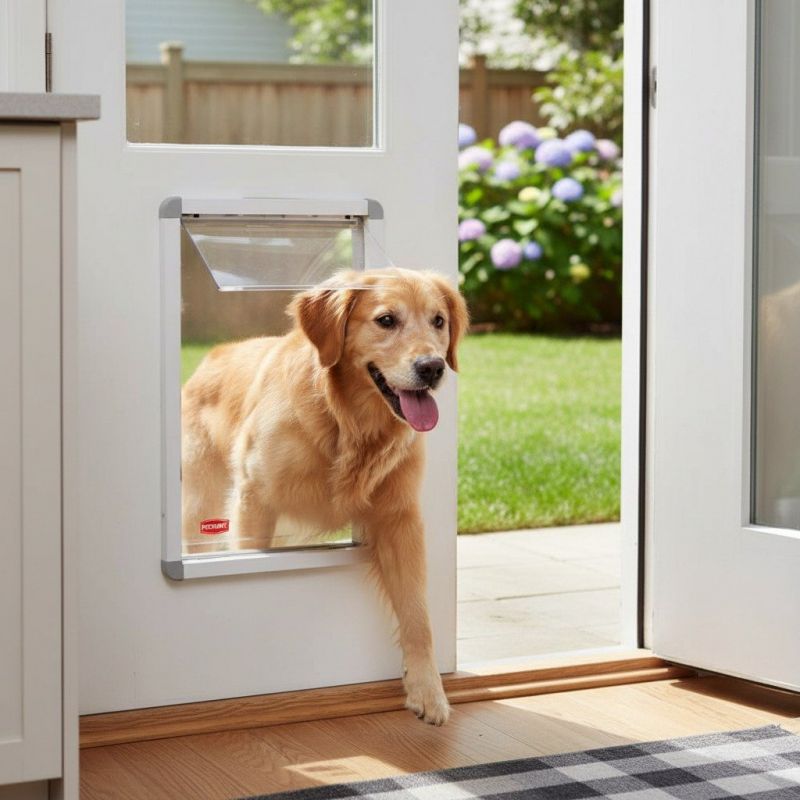
Pet door installation is a common service that property owners seek to improve convenience and accessibility for their pets. Local contractors who specialize in this work typically assist with selecting the right type of door, measuring door and wall openings, and securely installing the unit to ensure proper function. Homeowners may look for professional help when upgrading existing pet doors, installing new ones in doors or walls, or addressing issues like drafts, security, and durability. These local service providers bring practical experience to ensure the pet door is installed correctly and functions smoothly, fitting seamlessly into the home’s structure.
Connecting with experienced local contractors can make the process of pet door installation straightforward and hassle-free. Service providers often handle a variety of installation scenarios, from standard door-mounted units to more complex wall or window installations. Property owners can expect these professionals to assess their specific needs, recommend suitable solutions, and perform the installation with attention to detail. Finding the right local pros ensures the work is completed efficiently, with a focus on quality and proper fit for the pet and the property.
This guide provides helpful information to understand the process of pet door installation and what to consider when hiring a service provider. It assists in comparing local contractors and understanding the basics of the work involved. The goal is to help visitors gather relevant details to make informed decisions and connect with trusted local service providers.